Roman blinds are a lovely option when choosing window dressings for your home. You use much less fabric than you would for curtains which will allow you to spend out on some fabulous fabric and they can also be fitted inside the window recess saving you valuable wall space.
If you haven't made a roman blind before I suggest you start by following these directions to make a mini roman blind. This will enable you to become familiar with the calculations and techniques on a small scale before you cut your precious fabric. It will also help you decide whether you have the time and patience to make your roman blinds. If you would prefer to learn in a workshop environment please get in touch and I will let you know when and where I am running my next class. If you decide roman blind making is not for you I can of course make them for you!!

A student with her finished mini roman blind..... Up

...... And down
This tutorial will cover the basics of making a simple batten and cleat roman blind. Please note this technique is no longer compliant with child safety regulations and I will post another blog soon explaining how to make your roman blinds child safety compliant. The purpose of this tutorial is just to get to grips with the basics of roman blind making.
You will need.....
-face fabric
-lining
-wooden batten (18x33mm)
-fibre glass rods
-bottom bar
-screw eyes
- blind cord
-stitch on loop velcro
-stick on hoop velcro
-rings
-acorn and cleat for mounting
CALCULATIONS
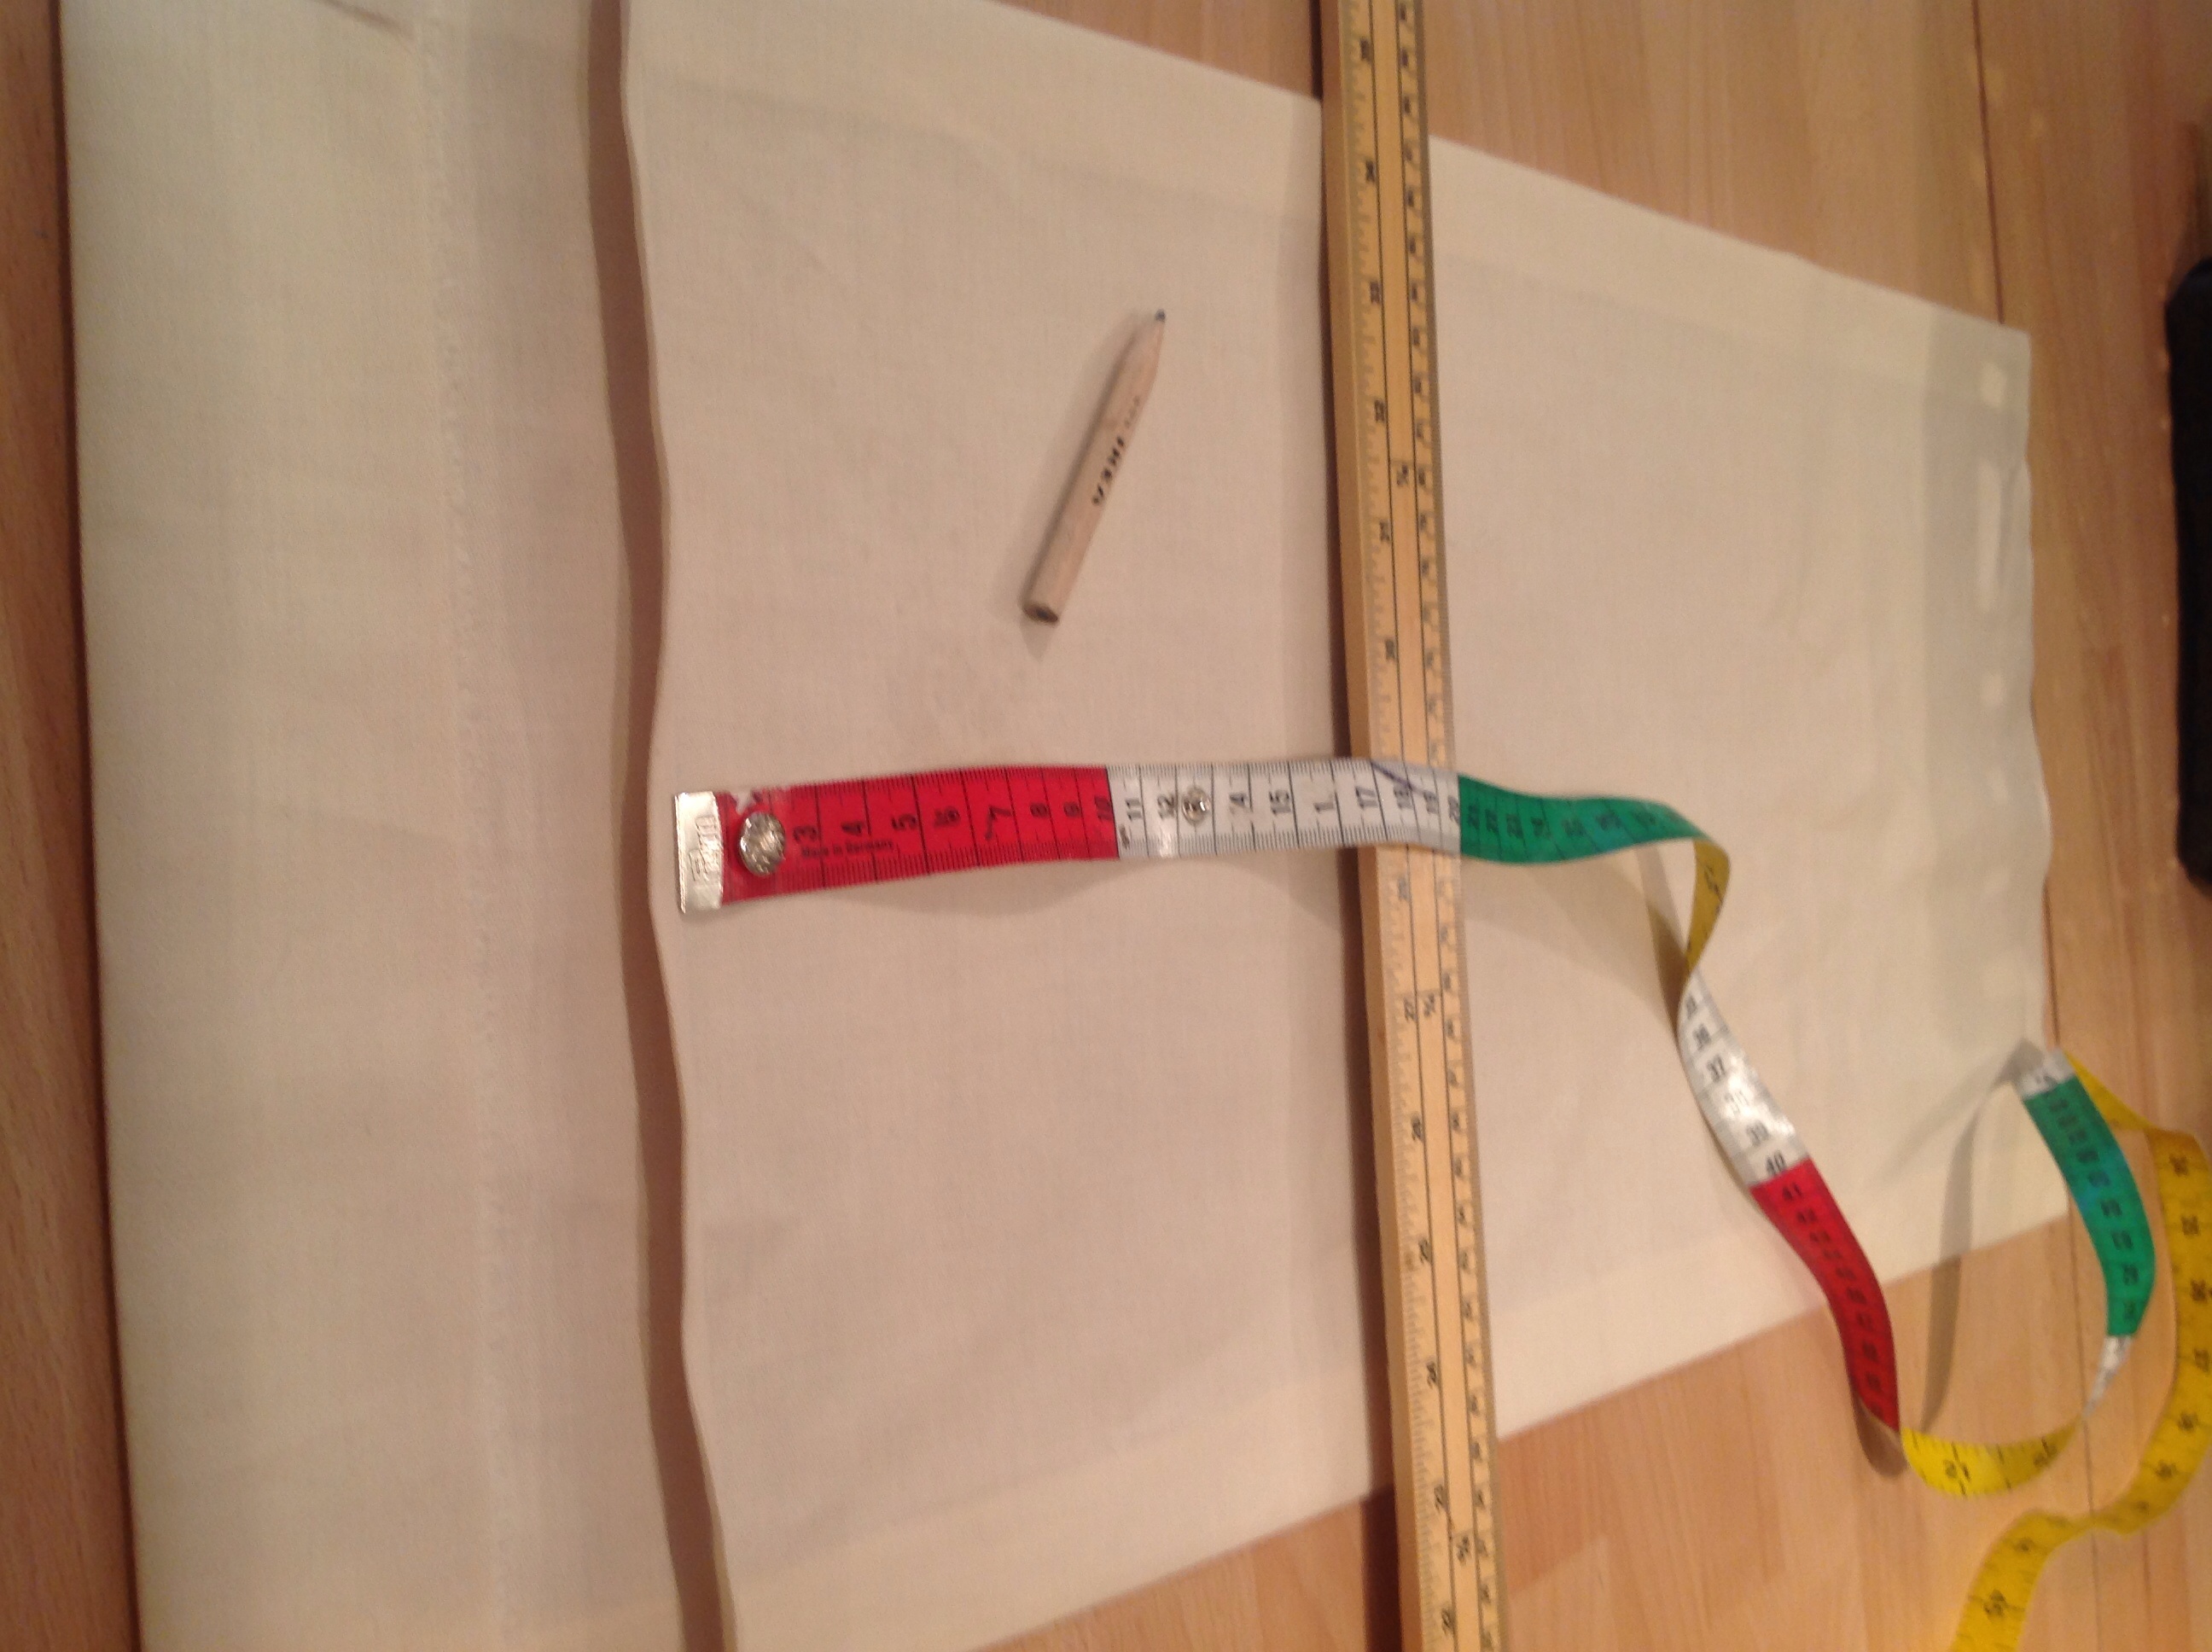
The first thing to do is the calculations. This might seem a bit complicated at first but once you have actually made the blind it will make more sense. I always draw a little diagram too to make sure I get my measurements the right way round. And that old "measure twice cut once" saying definitely applies to roman blind making.
FINISHED BLIND MEASUREMENT
The first thing you need to do is measure the size you want your finished blind to be.
For this sample blind the finished blind measurement is 35cm width, 51cm depth

FACE FABRIC
Calculate the size of the face fabric to be cut.
WIDTH- add 5cm to each side for turnings
face fabric width = finished width + 10cm
sample blind 35 + 10 = 45cm
DEPTH- add 6cm to the top and 10 cm to the bottom for hems
face fabric depth = finished depth + 16cm
sample blind 51 + 16 = 67cm

HEAD RAIL ALLOWANCE
This is to allow the batten to be covered with the blind folding neatly beneath it.
depth of batten x 1.5
sample blind 33mm x 1.5 = 49.5mm
we will use a head rail allowance of 5cm
CALCULATE ROD POCKET SPACES
Decide how many sections you want ( it must be an odd number)
rod pocket spacing = (drop - head rail allowance ) / no. of sections
sample blind (51 - 5)/5 = 9.2
and another diagram.....

LINING
width = finished width
sample blind 35cm
depth = finished depth + 5cm top + 5cm bottom + 2cm per rod pocket + ease
sample blind 51 + 5 + 5 + 4 + 5 = 70

MAKE THE BLIND
Right that's the maths over!! Now you can get on and make the blind.
Cut the face fabric according to the calculations paying careful attention to the pattern positioning.

Press a 5cm turning along one side of the fabric. Measure the finished width across in several places and fold over the other side and press.
Turn over the top allowance of 6cm and press. Measure down the finished drop in several places and press the bottom hem.

Open up the top and side seam allowance, place the loop Velcro above the fold and machine top and bottom into place.
Working from left to right stitch the sides of the face fabric by hand using a herringbone stitch just catching the front of the fabric.

Prepare the lining, cut to size using the calculations.
Press the side hems in 2.5cm on each side
Press the bottom hem up 5cm right side to right side
Make the first rod pocket. Measure up from the bottom fold of the lining 9.2cm + 1cm = 10.2cm. Mark a faint pencil line and iron along the line. Sew 1 cm from the line making a 2cm rod pocket.

Measure for the next rod pocket from the stitch line, 18.4cm + 1cm = 19.4 cm
Draw a line, iron and sew 1cm from the line.
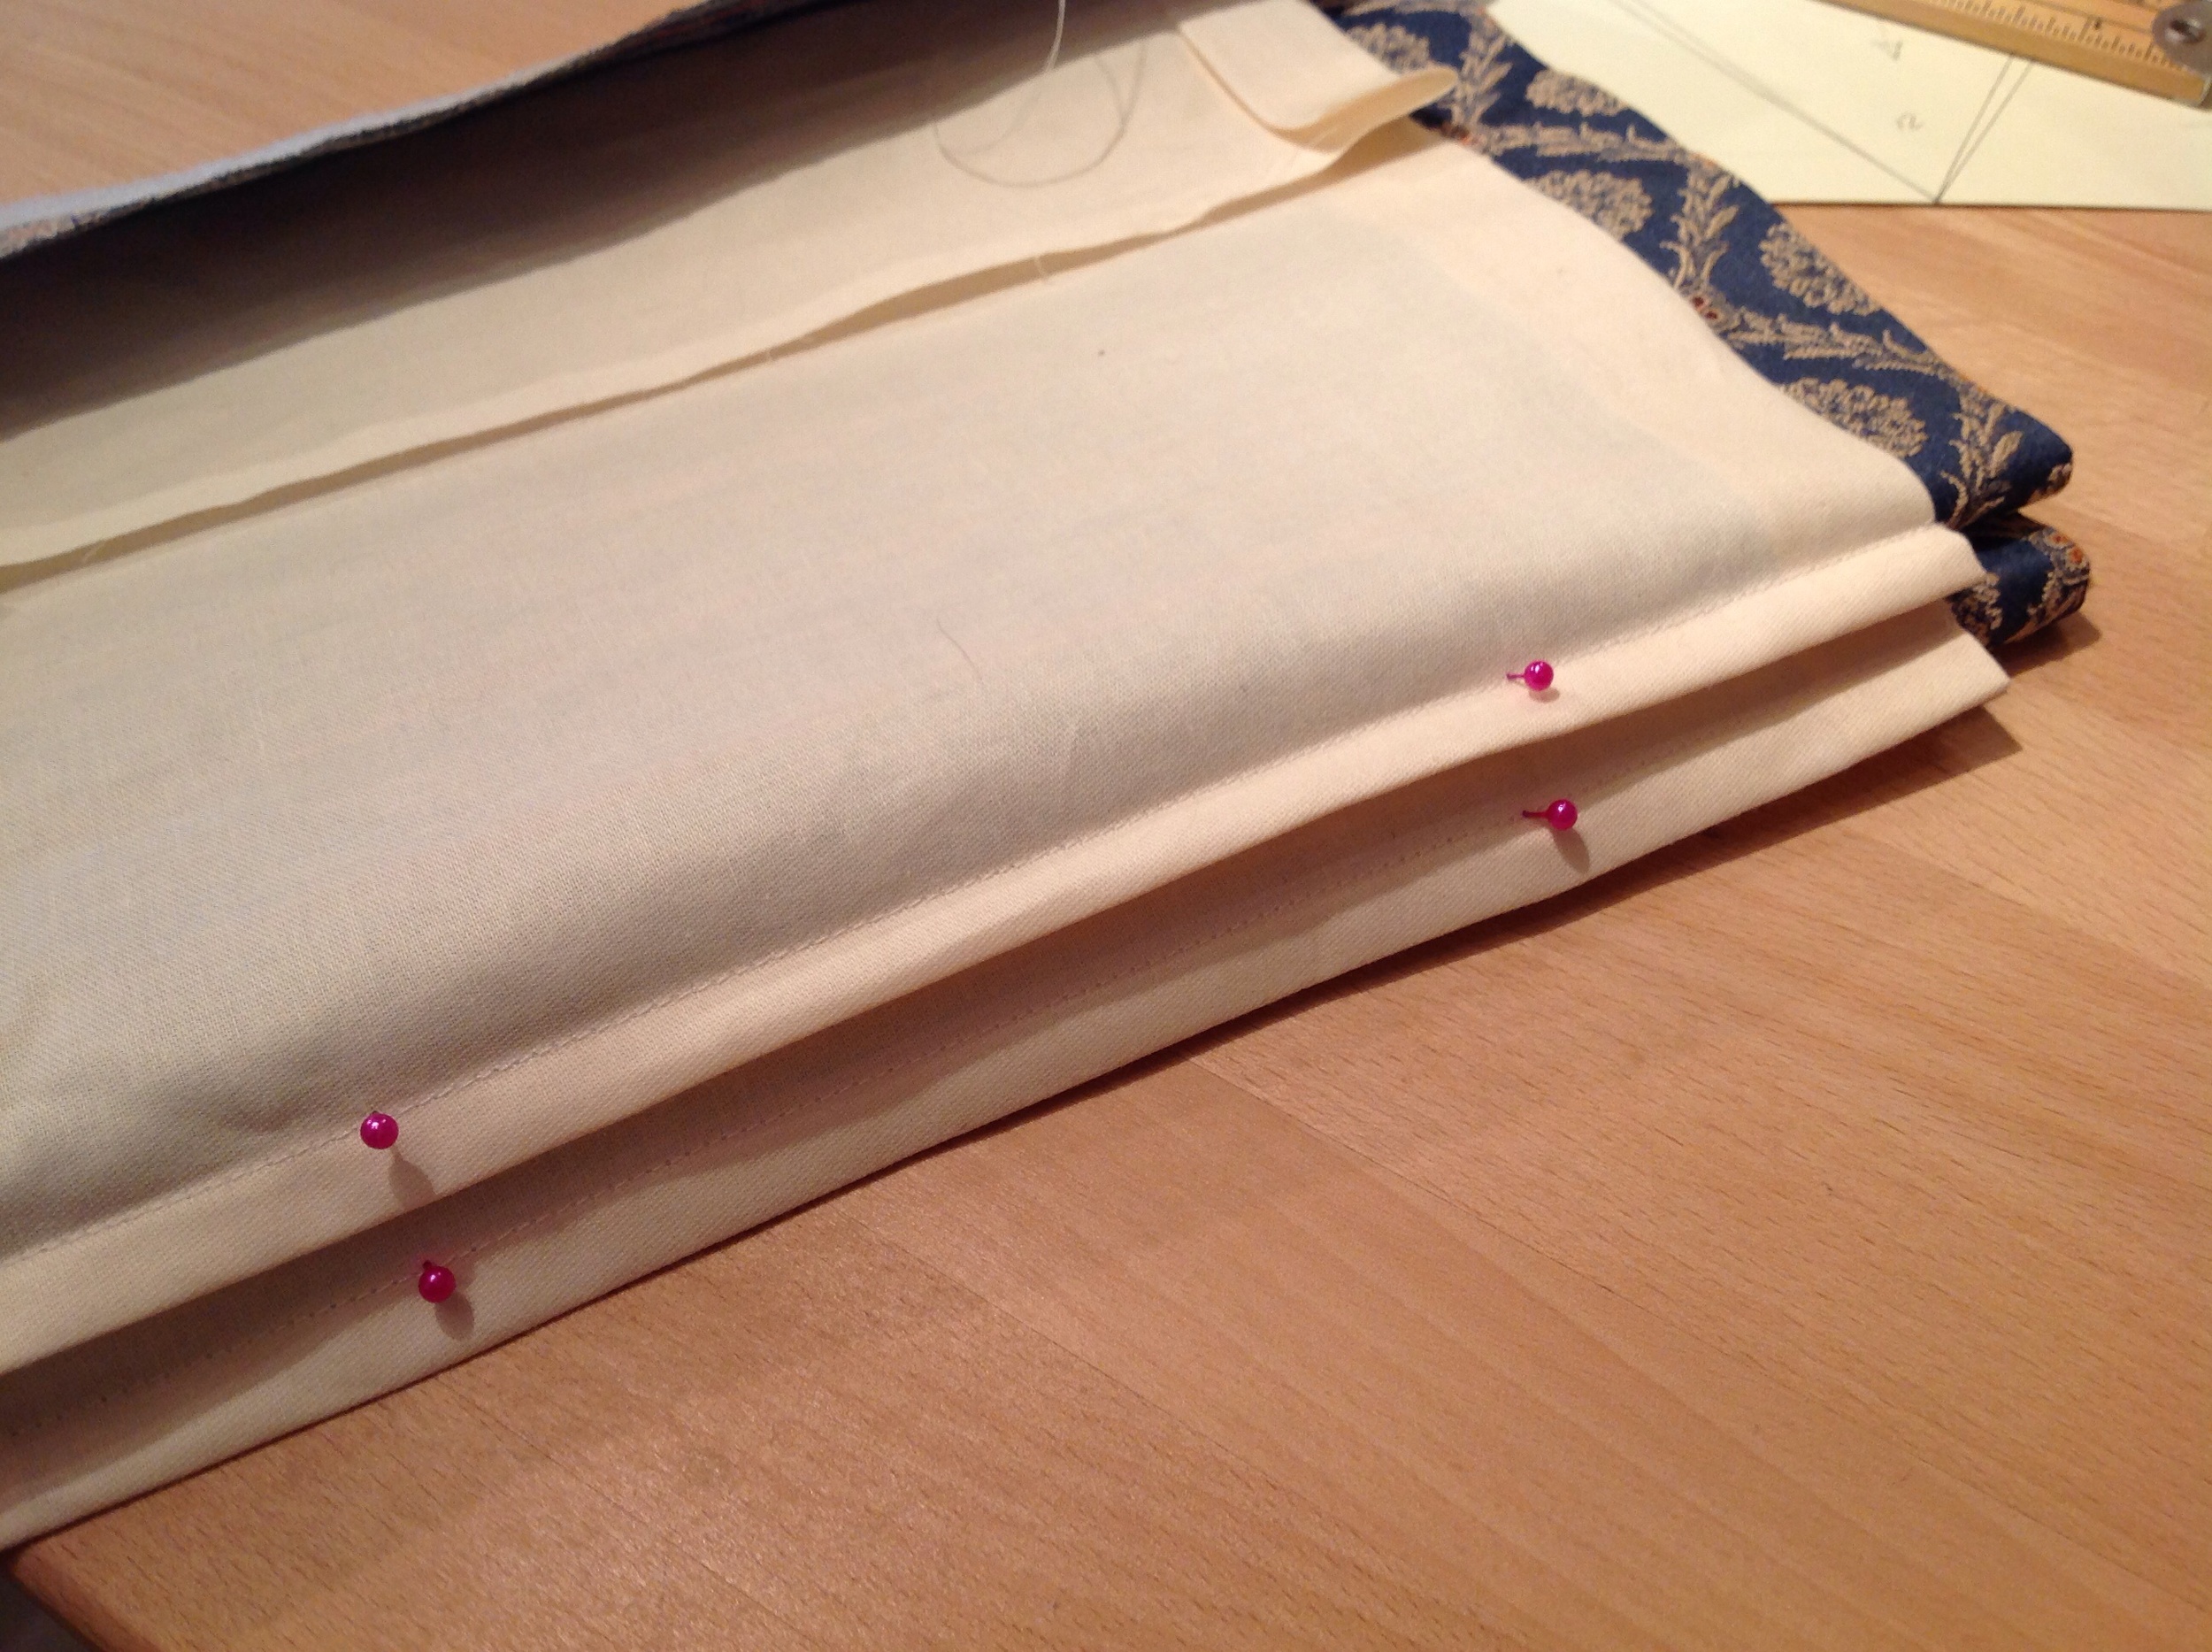
Now back to the face fabric. Mark where the position of the rod pockets. Measure up 9.2cm and mark with a pin, then measure up another 18.4cm from that pin and mark with another pin, do this on both sides.
Pin the lining into place 2.5cm from each edge and ladder stitch into place.
Mark up for rings at 10cm in from each side and approximately every 30cm across with a pin and fold the blind up to ensure everything lines up evenly.
Fold under the hem and stitch leaving the ends open.
Trim excess lining from top, fold press and stitch to finish.
Cut rods 1cm shorter than the rod pocket, insert and hand stitch closed
Cut bottom batten 2cm shorter than the finished blind width, insert and hand stitch closed.
Stitch the rings into place sewing the ring securely into place buy passing it around the rod.
Make small stab stitches under each rod in a cotton tea matches the face fabric.

Cut the top batten 1cm shorter than the finished blind width and sand the edges. If the batten is going to be in a window recess it won't be seen. If it is going on the wall it should be painted the same colour as the wall or covered in face or lining fabric. Stick the hook Velcro to the batten and staple into place to secure.
Fold the blind up to mark position for the screw eyes in the batten.

Screw in the screw eyes.
Tie the cord to the bottom rings and thread up through the blind.

FINISHED!!!!